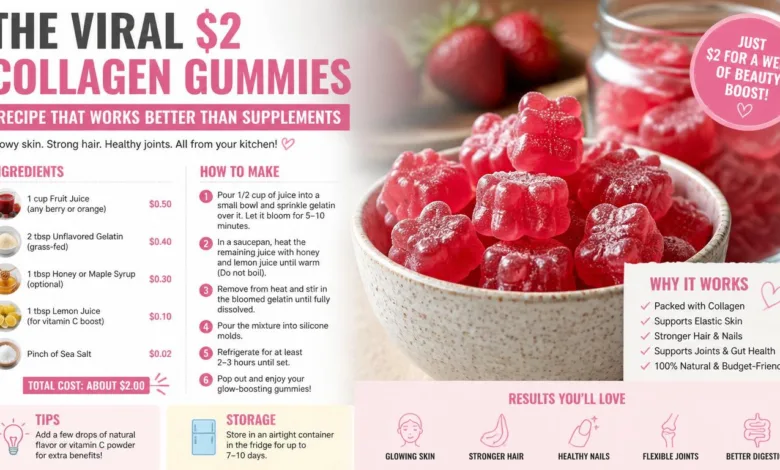
The Viral $2 Collagen Gummies Recipe That Works Better Than Supplements
The Homemade Approach to Collagen Gummies for Healthy Skin
Have you ever wandered down the health aisle at the grocery store, looking longingly at those vibrant collagen gummies? They sit enticingly next to the expensive powders and glossy tubs filled with promises of perfect skin. I was drawn to them too, but ultimately, I wanted something more fun, affordable, and simpler to incorporate into my daily routine. After experimenting in my kitchen for a few weeks, I discovered an easy and delicious recipe for homemade collagen gummies that cost only a couple of dollars per batch. They’re not just a treat; they also provide a convenient way to support your skin health without the overwhelming complexities of those hefty supplements.
What Are Collagen Gummies?
Collagen gummies are chewy, bite-sized snacks packed with collagen – a vital protein responsible for skin elasticity and firmness. These little wonders are generally made with collagen and a gelling agent, like gelatin. While store-bought gummies can offer convenience, they often come with a hefty price tag, lower collagen content than you might expect, and additional sweeteners or flavors that you may not want. By making your own, you gain full control over how much collagen you include, the sweetness level, and the flavor profile. Plus, homemade gummies are a fun addition to your fridge and can make you look forward to your daily wellness routine.
The Importance of Collagen for Skin Health
So, why do people turn to collagen in the first place? Collagen is one of the main structural proteins in our body, playing a crucial role in maintaining the skin’s firmness and elasticity. As we age, our natural collagen production begins to decline, which can lead to drier skin that lacks its youthful bounce and vibrancy. Including collagen in your daily routine, whether through gummies, powders, or other sources, may help support skin hydration and texture.
Why Make Collagen Gummies at Home?
One of the best parts about creating your own collagen gummies is how they transform into a simple daily habit rather than an overwhelming “new me” project. I find that when I’m consistent, my skin tends to feel more hydrated and has a noticeably smoother texture, especially in areas prone to dryness. A few practical benefits of homemade collagen gummies include:
- Supporting skin hydration: Pairing collagen with proper hydration can amplify skin benefits.
- Enhancing skin texture: Regular intake may contribute to a softer and more youthful appearance.
- A fun daily ritual: They offer a delightful way to remember your daily vitamins without the hassle of large pills or powders.
The Ingredients You’ll Need
Creating your own collagen gummies is not only rewarding but also straightforward. Here’s what you’ll need, most of which can be found readily at your local grocery store:
- 1 cup of fruit juice: Choose an all-natural juice like orange, pomegranate, grape, or a mixed berry blend. Look for juices without artificial sweeteners for the best flavor.
- 2 tablespoons of plain gelatin: This is your gelling agent, so make sure it’s unflavored.
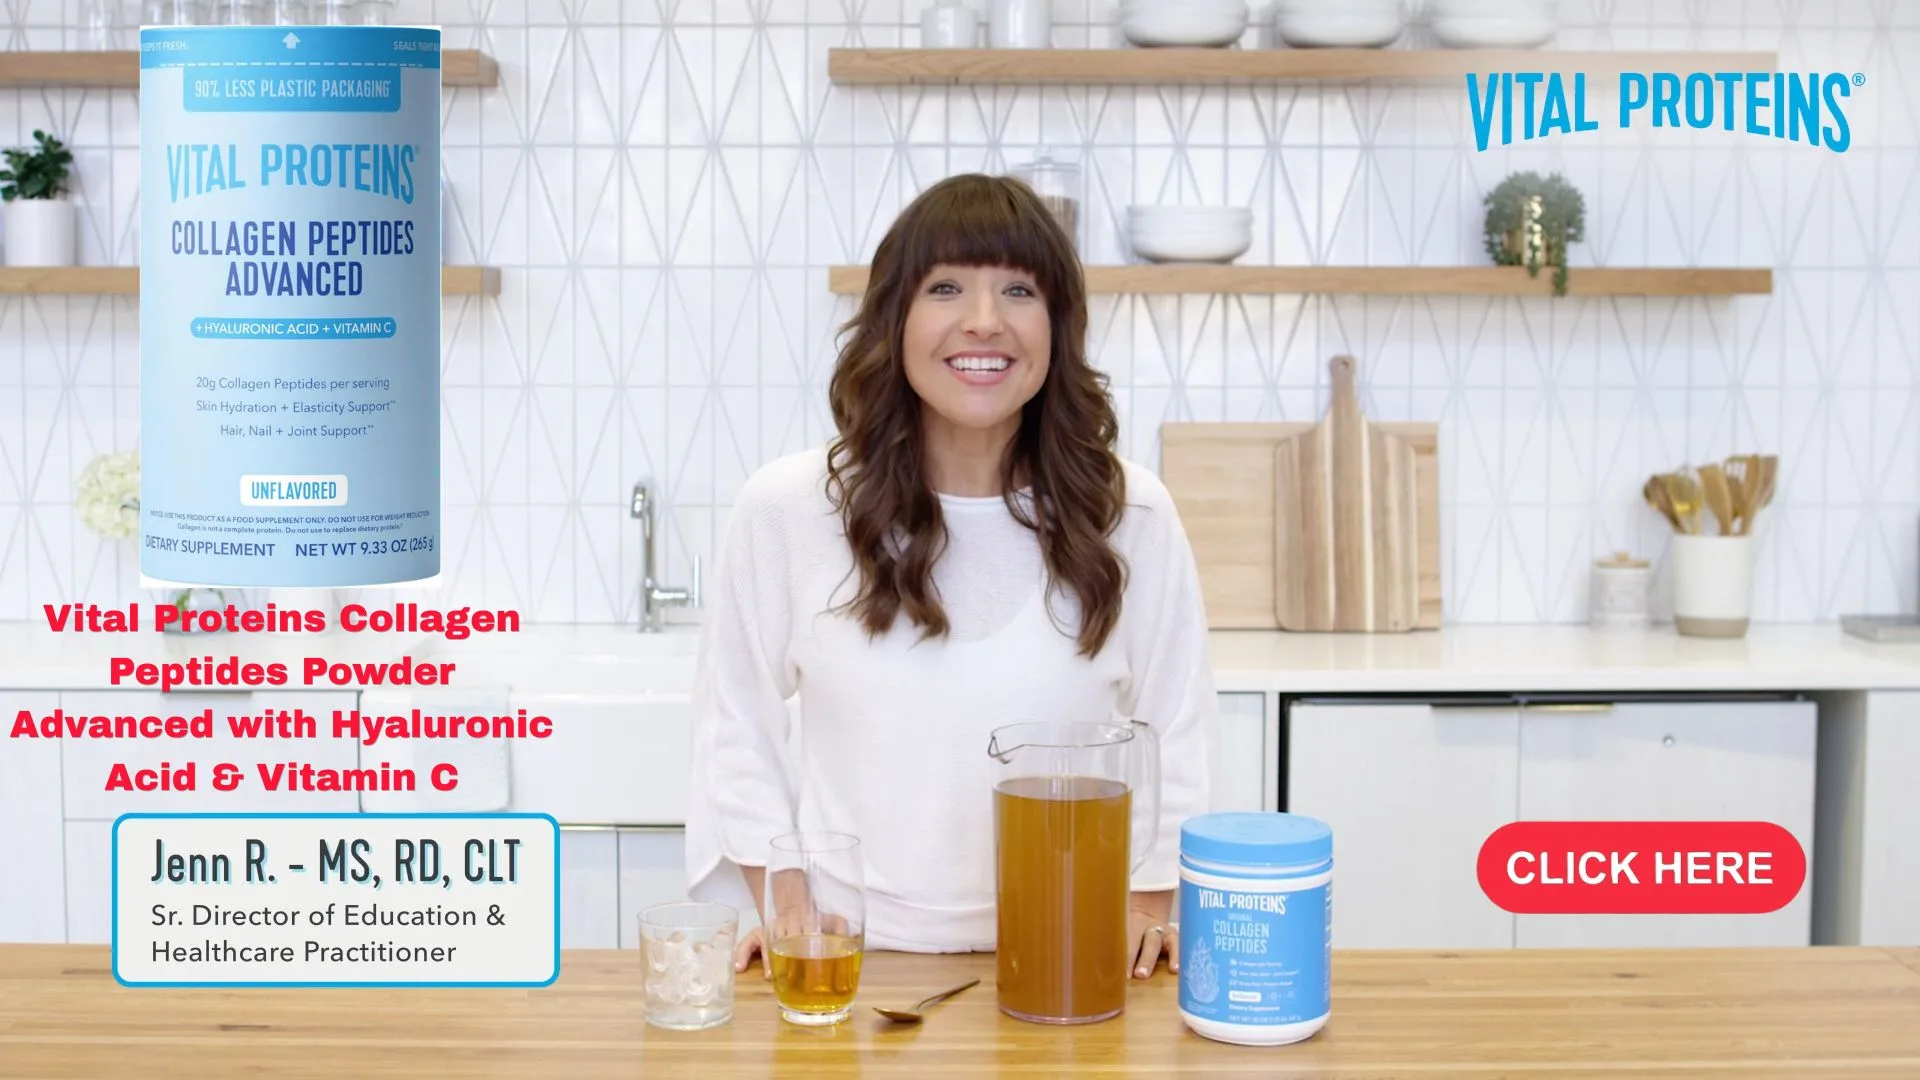
- 2 tablespoons of collagen peptides: Opt for unflavored varieties for versatility.
- 1 to 2 teaspoons of honey or maple syrup (optional): This will sweeten your gummies if the juice is too tart.
- 1 squeeze of lemon (optional): A hint of lemon can brighten the flavor.
Step-by-Step Recipe for Homemade Collagen Gummies
Ready to get started? Follow this simple method to create your own collagen gummies. Remember, this process is forgiving, so don’t stress too much about perfection.
Step 1: Bloom the gelatin
Begin by pouring your chosen juice into a small pot. Make sure the juice is cold, not warm. Sprinkle the gelatin evenly over the surface. Let it sit for about five minutes, during which it will absorb the juice and expand, looking a bit thick and wrinkly – that’s exactly what you want.
Step 2: Gently warm the mixture
Place the pot on low heat. Stir gently and continuously until the gelatin is completely dissolved. Avoid boiling the mixture, as excessive heat can affect the texture of your gummies. If it starts to steam, reduce the heat.
Step 3: Incorporate collagen
Once the gelatin is dissolved, remove the pot from the heat. Whisk in the collagen peptides until the mixture is smooth. It’s essential to do this off the heat to prevent clumps or an unpleasant texture.
Step 4: Sweeten and enhance the flavor
Taste your mixture and adjust sweetness if necessary by adding honey or maple syrup, especially if you’re using a tart juice. For an added burst of freshness, squeeze a bit of lemon into the mix.
Step 5: Pour into molds
If you have silicone gummy molds, pour the mixture directly into them. If not, you can use a small glass dish, and later cut the gummies into bite-sized squares. Refrigerate for at least two hours, allowing them to set properly.
Enjoying Your Homemade Gummies
After your gummies have chilled, you can pop them out of their molds or cut them from the dish. Personally, I love having a couple in the evening after dinner. They feel indulgent, like dessert, yet they’re genuinely beneficial for my skin.
Tips for Making the Best Collagen Gummies
If you want your gummies to resemble traditional, enjoyable gummies rather than a more rubbery texture, consider the following:
- Stick to low heat: Avoid boiling the mixture as it can compromise texture.
- Whisk off heat: Always add collagen peptides after removing the pot from the heat to prevent clumping.
- Choose flavorful juice: Pick a juice you enjoy drinking straight, as the flavor will intensify once the mixture sets.
- Allow adequate chill time: Aim for at least two hours in the refrigerator, but overnight is even better for a firmer set.
Daily Intake and Variations
How many homemade gummies should you consume? I keep it simple and recommend taking about two to four gummies each day, depending on their size. Consistency is key – it’s more beneficial to take a small number daily than overindulging one day and forgetting the next few.
Once you’re familiar with the base recipe, feel free to experiment with flavors based on your preferences:
- Berry lemonade: Combine half berry juice with half water and add an extra squeeze of lemon for a refreshing twist.
- Tropical mix: Use pineapple juice with a hint of grated ginger for a unique flavor kick.
- Herbal infusion: Brew mint tea, cool it down, and use it in your mix with a splash of juice.
If you prefer less sweetness, opt for naturally sweet juices like Concord grape and skip the additional sweeteners. Conversely, if you’re in the mood for something sweeter, consider adding a drop of vanilla and using orange juice for a delightful candy-like flavor.
Common Mistakes to Avoid
To help you succeed in your gummy-making adventure, here are some common pitfalls I’ve encountered that you should avoid:
- Boiling the mixture: This can lead to a chewy texture and overpowering gelatin taste.
- Clumping the gelatin: Always sprinkle gelatin evenly over the cold liquid to allow it to bloom properly.
- Skipping the chilling time: Trying to unmold the gummies too soon can result in a soft, torn mess.
- Improper storage: Store your gummies in an airtight container in the fridge. If left uncovered, they’ll dry out and lose their desirable texture.
- Expecting quick results: Achieving noticeable skin benefits takes time. Consistent use for several weeks, along with adequate hydration, will yield the best results.
The Shelf Life of Your Gummies
How long can you enjoy your homemade gummies? Generally, they last about seven to ten days in the refrigerator when stored in an airtight container. If they start to develop an off smell or ooze liquid, it’s time to toss them and whip up a fresh batch.
Can You Make Gummies Without Silicone Molds?
Absolutely! If you don’t have molds, simply pour the mixture into a small glass dish, chill, and then cut into squares once set. While they may not be as visually appealing, they will still taste delicious.
Do They Taste Like Gelatin?
If you use flavorful juice and keep the mixture from overheating, your gummies will mostly taste like fruit snacks. A squeeze of lemon can further mask any mild gelatin flavor.
What Type of Collagen Should You Use?
Unflavored collagen peptides work best for this recipe. If your chosen collagen has added flavors or sweeteners, it may still be usable, but be mindful of any potential taste clashes with your juice.
A Word on Consistency
For optimal results, aim for a daily intake of around two to four gummies, depending on their size and the collagen content. Check your collagen label for a rough idea of how much you’re consuming with each serving.
Conclusion
If you’ve been eyeing those pricey collagen gummies for skin but are reluctant to splurge, making your own at home is a fantastic and low-stress solution. You get to choose simple, wholesome ingredients while enjoying a tastier daily routine. Plus, experimenting with flavors makes it all the more enjoyable! Whether you prefer a ready-made option for on-the-go convenience or decide to stick with homemade versions, consistency is key. Drink plenty of water, give your routine time, and enjoy the journey toward healthier, more hydrated skin.
Ready to give it a try? Whip up your first batch this weekend and let me know which juice flavor you chose. I’m always eager to explore new favorites!